This post may contain affiliate links. Please read my disclosure for more info.
Tools Required
- Medium sized Phillips head screw driver
- Vacuum (optional)
Disclaimer: Any information given in this guide is to be used at the readers own risk. I take no responsibility for injuries to the reader or damage to their vehicles. If this guide is followed correctly, no harm should occur to either the reader or the car.
Please read through the entirety of this guide prior to undertaking any work, and do take care when following this guide.
Step 1
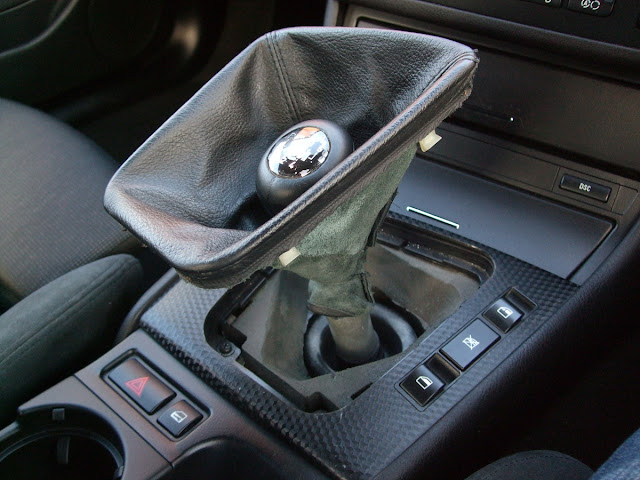
Squeeze the gear gaiter at the sides of the base, this should un-clip it from the gear surround trim. To know where to squeeze, you can see the two white clips in the image below. Once un-clipped pull the gaiter inside out as shown below.
Step 2
Remove the gear knob using this how to guide: Gear Knob - Removal and Replacement. Then slide the gaiter off the gear stick and store safely.
Step 3
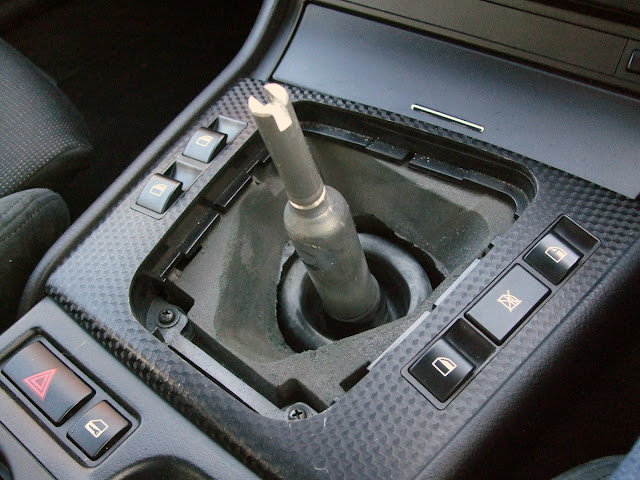
Using the Phillips head screw driver remove the two screw fixings at the car rearward edge of the gear stick aperture.
Step 4
The gear surround trim should now be free of the console, carefully pull it away. Do NOT pull the trim too far away as the wiring for the window switches (if you have them) will still be connected.The switches are just clipped to the trim, un-clip them and the gear surround trim will now be completely free of the car and can be set aside.


Step 5
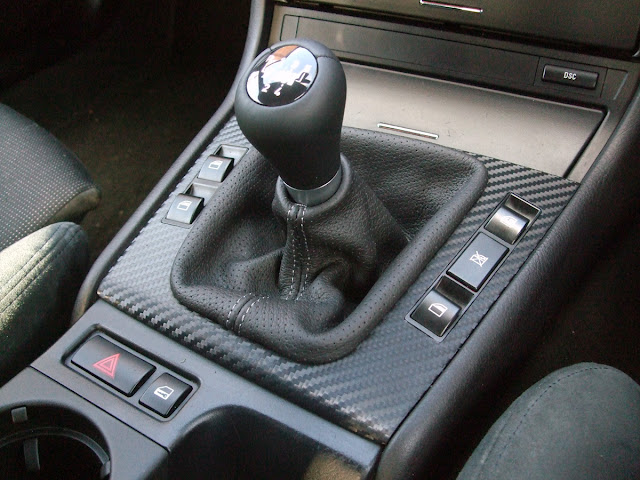
Replacing the trim is just a reverse of steps 1 - 4. Ensure everything is secured correctly, you may wish to vacuum out the area under the trim too whilst you have it removed, mine was quite dusty and crummy after 10 years of use.

0 Comments
Post a Comment
Let me know what you think by leaving a comment below.