I had 3 of mine go, I can practically remove an E46 door casing in my sleep...
If you're not quite at that stage, keep reading to find out how!

This post may contain affiliate links. Please read my disclosure for more info.
Tools Required
- Plastic Trim Removal Kit
- Torx T20 Driver
- Door Casing Clips - P/N: 51418224768
- Upper Finisher Clips - P/N: 07149158194
Disclaimer: Any information given in this guide is to be used at the readers own risk. I take no responsibility for injuries to the reader or damage to their vehicles. If this guide is followed correctly, no harm should occur to either the reader or the car.
Please read through the entirety of this guide prior to undertaking any work, and take due care.
Step 1 - Remove the Upper Door Trim Finisher
Using a trim puller, carefully remove the upper finisher, starting from the back working toward the release handle. Be careful near the release handle end as the finisher hooks under the release handle bowl.
If you haven't already added a trim pulling kit to your tool collection, I'd highly recommend getting one. They come in handy for all sorts of jobs.
There are a million different sets on Amazon, but I've got this Neilsen one that does the trick.

Step 2 - Remove the Armrest Fixing Caps
Remove the two plastic screw caps in the underside of the armrest.

Step 3 - Remove the Wing Mirror Adjust Switch
Next remove the wing mirror adjustment switch pack, for the passenger side it's a plastic blank, and for the rear door casing it's the window lift switch pack.Lever from the back with your trim puller, once loose it'll just pull out. Then remove both wires from the back.


Step 4 - Remove the 5x Door Panel Screws
Remove the 5x Torx T20 screws securing the door casing, there are 2 under the upper finisher, 2 under the screw caps in the armrest and the final one is behind the wing mirror adjust switch pack.

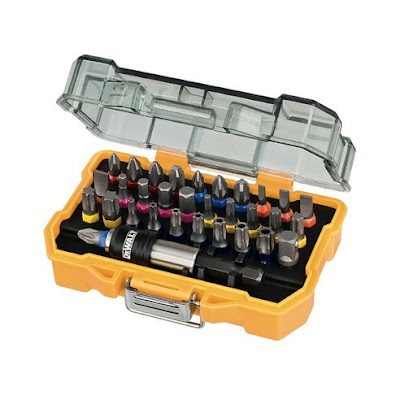
When I wrote this guide I just used a rusty old Torx T20 driver, but I've since upgraded to this DeWALT screwdriver bit set. I was really impressed with the quality, I've had bit sets before but you can tell the DeWALT ones are far superior.
The bonus of a bit set too is that you can use them in drills, hand drivers and in ratchets. Click the previous link or the image below to go straight to Amazon.
Step 5 - Lever Door Trim Panel Away from Door
Work your way around the door casing, starting at the rear, levering the door casing free using a large trim puller.
Step 6 - Disconnect Wires and Door Handle Release Cable
Once the door casing is free of the door, you need to support it's weight whilst you disconnect the wires and door release cable. Start with the release cable, to remove it lever the end closest to the cable away from the door casing.
Step 7 - Unclip the Wiring Harnesses from the Door Panel
Unclip all the wiring harnesses from the back of the door casing, no technique required they just pull out, also disconnect the two connectors from the mid range speaker.
Step 8 - Lift the Door Casing Away from the Door
The door casing should now come away from the door.
If you're removing the door casing to fit upgraded speakers, I think you'd find my E46 speaker upgrade post super helpful!

Step 9 - Refitting the Door Casing
Refitting is just a case of reversing the steps above. It's probably worth having a stash of door casing clips on hand though, both the main door casing clips and the upper finisher clips, as these readily snap during door casing removal and replacement.

It's usually through no fault of your own that these clips snap, the plastic just degrades naturally over time.
You might get away with no clips snapping if you're lucky, but I take the better safe than sorry approach, as there is nothing worse than a rattling interior panel...
All part numbers for the clips are at the top of this post if you want to order the clips from BMW, or you can click the links and images above to go straight to Amazon.
0 Comments
Post a Comment
Let me know what you think by leaving a comment below.